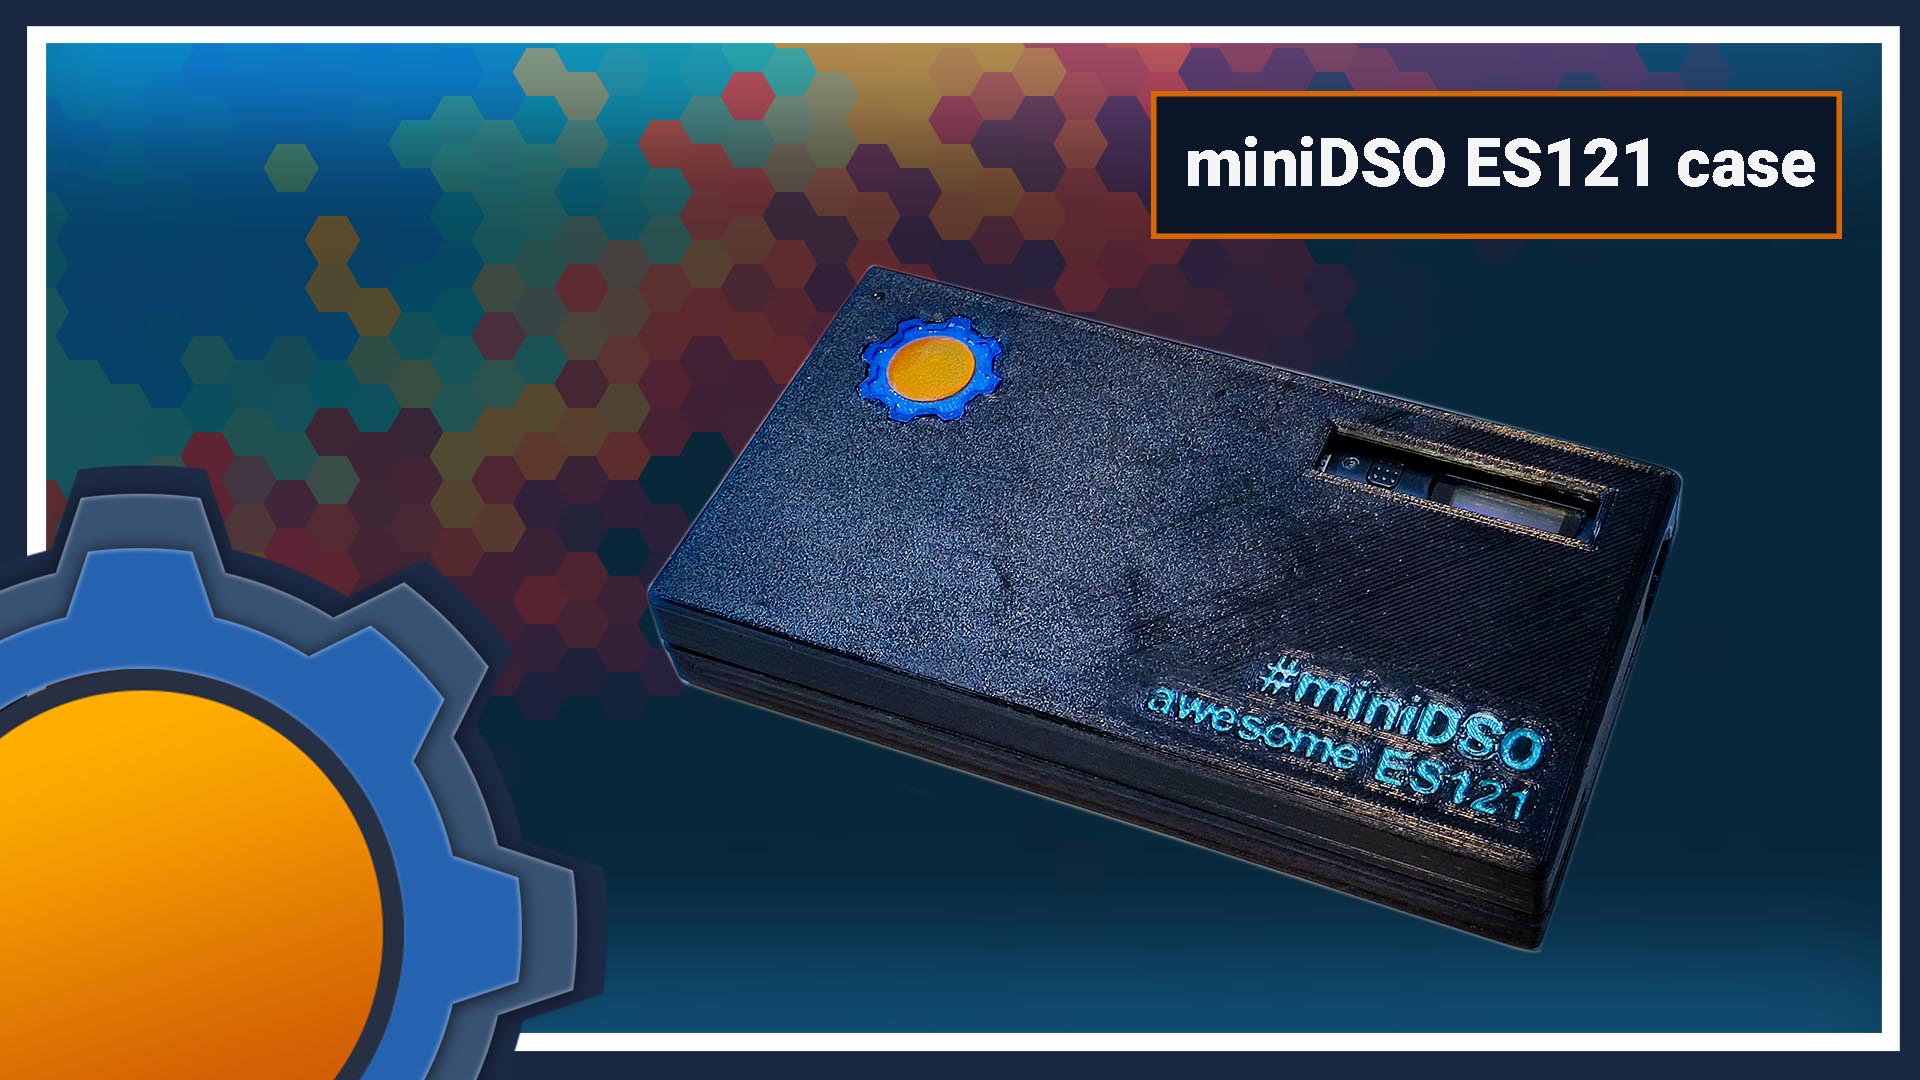
I got my hands on a miniDSO ES121 (review) electronic precision screwdriver a couple of weeks ago. It looks like a lightsabre in the permanent OFF position, costs about what you would expect Jedi to pay for it, but it comes without a case whatsoever! It was time to employ my Ender3 3D printer (review) to fix that!
Smarter miniDSO ES121 case

Even cheap as chips £13 Xiaomi Wowstick 1P (review) came with a pouch to keep your screwdriver free from scuffs and scratches. Unhappy with the choices offered by Thingiverse, I decided to put my own spin on the miniDSO ES121 case. Good boys look after their tools!
I’m not a Fusion360 expert, but what I lack in CAD skills I make up with smart design choices and questionable execution. Karma on reddit isn’t going to earn itself, so I needed a couple of cool features that could be added to the case. I found two:
- check the battery level
- charge the pen
That’s exactly a couple! The biggest problem was to actually allocate enough time to hone Fusion360 skills and make it happen. As reality often teaches us, things are harder than they look, this is why most people download stuff from the internet… Me? I just use my stubbornness to power through projects like this.

When you fail… iterate!
My first prototype looked awesome until I actually tried to fit everything inside. To my disappointment after a night of printing, miniDSO ES121 case was too small. There was about 1mm gap between the lid and the bottom of the case. My OCD demanded v2.0 straight away!
The3D print took me several hours. I can’t waste the filament just like that, so I kept the box, wrapped it in a rubber band and gave myself some time to figure out other design imperfections.
Rectifying mistakes

Projects only fail, if you fail to learn something from your mistakes. After a couple of days I approached the idea armed with callipers in my hand and new solutions:
Tolerances
My initial tolerance for the screwdriver was 0.5mm. It wasn’t enough. I suspect that the 0.4mm nozzle size was working against me. In my second design, I decided to increase this to 1mm.
In my prototype, screwdriver bits were slotted way too tight. I knew I needed to enlarge the holes, but at the same time, I was very aware of reducing the friction. I settled at 4.5mm (4mm bits) and a layer of silicone (I only had the white colour) to increase the friction and introduce a flexible layer. A similar effect could be reproduced with TPU, but it would add to the complexity of the print.
Hinge
Did you know that:
- magnets don’t like heat
- the snap design needs more than eight 2mm magnets to work
I know this now. Thanks to my prototype, I could experiment a little. I found some small hinges on Amazon. These were perfect for the box this size. I know I could just 3d print the hinge but there is something about that gold plated accent that makes the case looks better!
I wasn’t done with magnetic latches – mainly because Amazon has nothing in a suitable size. Since I have to spend extra hours redesigning the case, I may as well incorporate bigger magnets.
Putting it all together
After about 12h of printing, I had 2 redesigned pieces. The miniDSO ES121 case is bigger, but it stores more bits as well. Most importantly, it fits! The work was far from over as I wanted to apply the coat of paint, resurface the area for bits with silicone, slot in the magnets and add hinges.

Hinges were very easy. I used a vice to snap the box in place, then using a soldering iron (also from miniDSO TS80 – review) I heated up the nails to pierce through the plastic and seal the nail inside.
I used a bathroom silicone and my fingers to spread the silicone evenly, and apply a little bit inside each hole. I used one of the bits to form the space inside it. The extra friction and more flexible material inside the holes provide a great fit. To stop the screwdriver from rotating, I also applied a little bit inside the pencil space.
I had a couple of magnets left from a failed project, so I made space inside the box. I know from experience that magnets are brittle and very prone to be chipped so they are inside the case instead. It dampens the shock of the snapping the case together and keeps the magnets intact.
Lastly, I used some acrylic paint to add some flair to my case. If you use paint, it’s best to protect the paint job with a clear coat of varnish.
Conclusion
Overall, I’m pleased with my new miniDSO ES121 case. It stores more bits than the original design, it has a tray to keep the screws together and you can charge and check the battery level without opening the case. Even though I’m slightly disappointed about the prototype, I feel like I learned something. Let me know what do you think about my design in this Reddit thread.

3D File (.stl)
This project had been printed on my Creality Ender 3 (review) which was upgraded with my favourite mods.
Filament:
Time to print:
Filament length:
Estimated Cost:
PLA
14h 7min
35.30m
£1.50


