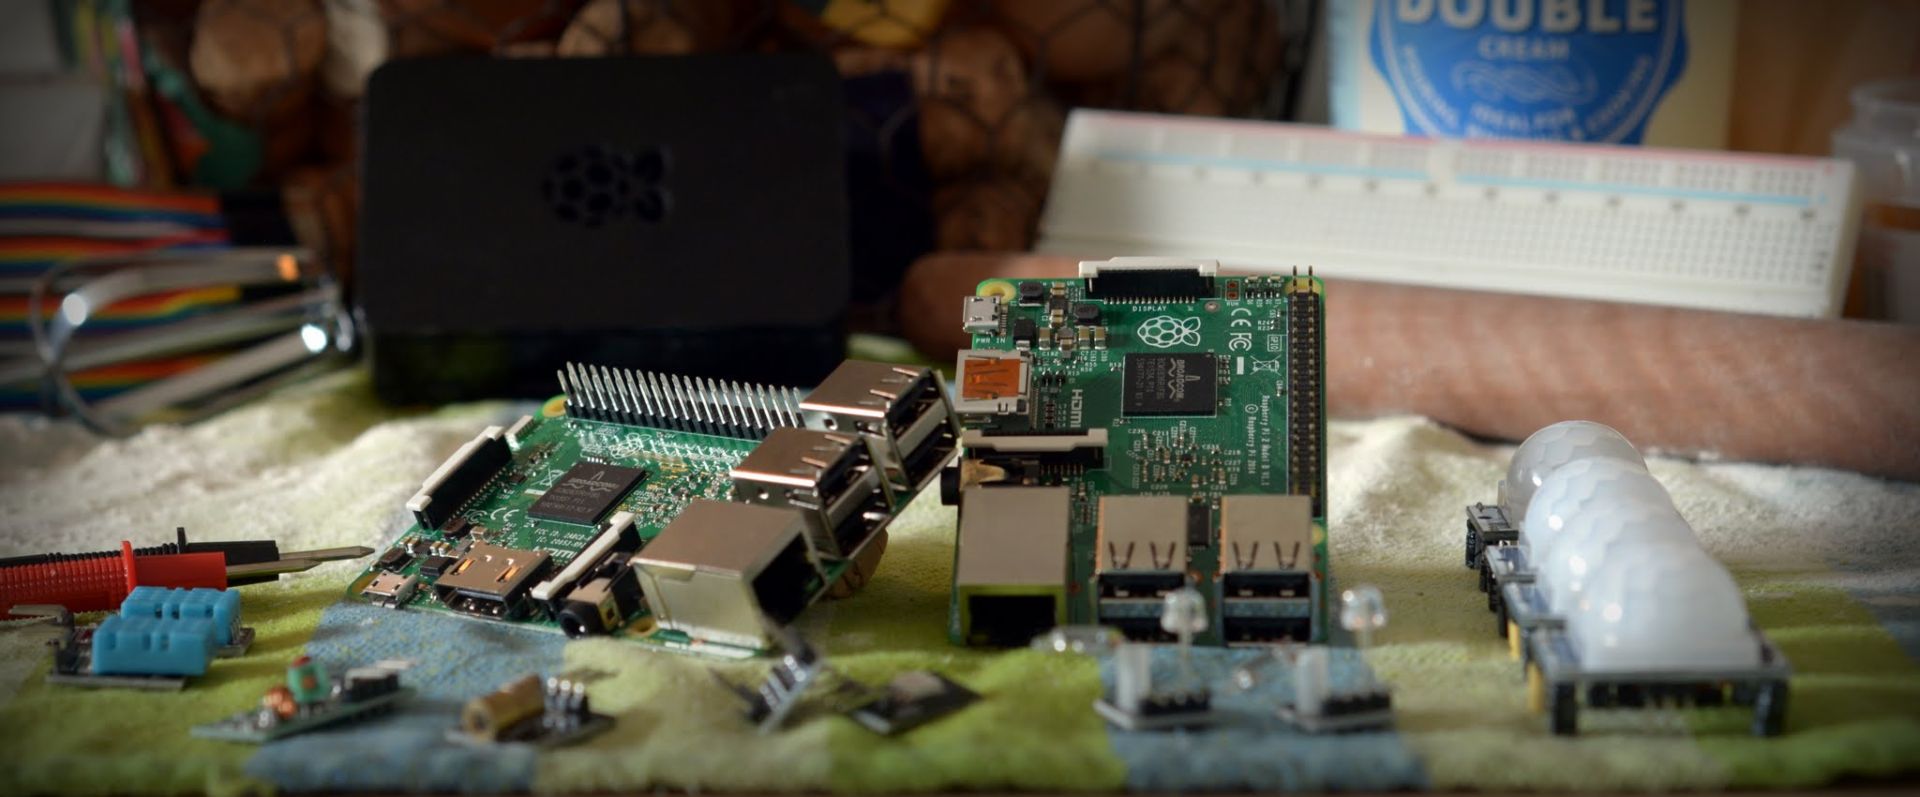
Since the Raspberry Pi Jessie update, my older guide on networking became outdated. This Raspberry PI static IP guide should explain the changes and allow you to set the raspberry pi again within your network. While this guide is valid on its own, I would recommend you to read the 4 step setup guide: How to connect RPI to a PC. It will take you only extra 5 min, and you won’t be confused about my IP number choices in the Ethernet setup.
Raspberry PI static IP guide
First of all, there is no need to modify the interfaces.d file anymore. The config should be OK for the majority of the cases. There are other files responsible for the Ethernet and WIFI set up. If you already played with this file and you wish to restore it to the default config please use this configuration:
# Please note that this file is written to be used with dhcpcd
# For static IP, consult /etc/dhcpcd.conf and 'man dhcpcd.conf'

# Include files from /etc/network/interfaces.d:
source-directory /etc/network/interfaces.d

auto lo
iface lo inet loopback

iface eth0 inet manual

allow-hotplug wlan0
iface wlan0 inet manual
 wpa-conf /etc/wpa_supplicant/wpa_supplicant.conf

allow-hotplug wlan1
iface wlan1 inet manual
 wpa-conf /etc/wpa_supplicant/wpa_supplicant.conf
WIFI config from a Terminal
You no longer have to modify the interfaces.d file to connect to the WIFI. The config for this is included in the file:
sudo nano /etc/wpa_supplicant/wpa_supplicant.conf
The setup is fairly straightforward, copy the file details below and fill in the SSID and PASSWORD with the relevant details (keep “” symbols). Save the file and reboot your RPI if the changes have not been applied automatically. Multiple SSIDs can be added in a similar fashion. The template below contains 2 entries. Each one is responsible for a different SSID.
ctrl_interface=DIR=/var/run/wpa_supplicant GROUP=netdev
update_config=1
country=GB

network={
 ssid="YOUR_SSID"
 psk="PASSWORD"
}

network={
 ssid="OTHER_SSID"
 psk="OTHER_PASSWORD"
}
Static IP
Static IP can be assigned to both interfaces eth0 (ethernet) and wlan0 (WIFI), you can benefit from having a fixed IP for each interface. This will make it easier to forward the ports and find your device on the network. Find the interface names using:
ifconfig
Bear in mind that interface names have changed since Raspbian Stretch and to get the old names back again you have to follow the steps from this guide. Both interfaces can be configured in the same file. Navigate to:
sudo nano /etc/dhcpcd.conf
and edit the files accordingly. If you want to assign the static IP to both interfaces just type one interface after another.
Ethernet manual DHCP
For this example, I will be using my preconfigured PC (see the guide), if you are using a router, just use the router’s respective values. Otherwise, make sure your PC’s IPv4 is also configured in a similar way.
To check what IP addresses you have linked to each interface use:
ip -4 addr show dev eth0 | grep inet
ip -4 addr show dev wlan0 | grep inet
# Custom static IP address for eth0
interface eth0
static ip_address=192.168.137.2/24
static routers=192.168.137.255
static domain_name_servers=192.168.137.255
The static ip_address should be the same one you have used in the previous guide. This is the IP of your Raspberry PI. The 192.168.137.255 is the IP of the PC which acts as a router.
WIFI manual DHCP
In the similar fashion static IP is assigned to the WIFI connection.
# Custom static IP address for wlan0
interface wlan0
static ip_address=192.168.1.162/24
static routers=192.168.1.1
static domain_name_servers=192.168.1.1
The static ip_address is the IP you want your Raspberry Pi to have (pick any not used on the network). This is the IP of your Raspberry Pi. The 192.168.1.1 is the IP of my router.
In both cases, it is recommended that you reserve the chosen IP on your router (or manually assign it to the PC if you are connecting to one instead) to preventing other devices highjacking the lease when the device is offline.
Log in to your router, go to the DHCP settings and reserve the IP of the RPI for the WIFI and wired connections. If you’ve followed the 4 step guide, you may now delete the IP value from the cmdline.txt on the SD card.
And you can start playing with services that require your Raspberry to have a static IP address.


