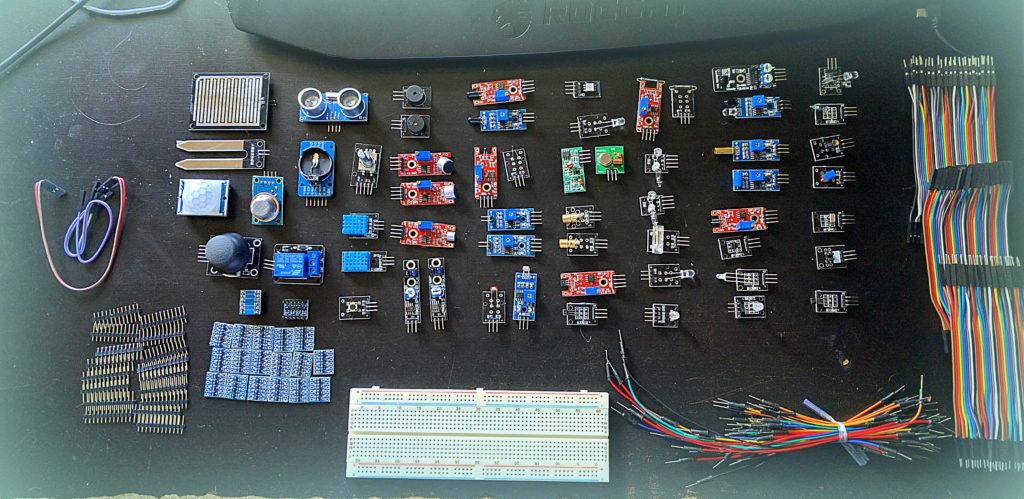
Tech details:
- Supply voltage: 3.3-5V
- Supply current (running): 0.5mA typ. (2.5mA max.)
- Supply current (stand-by): 100uA typ. (150uA max.)
- Temperature range: 0 / +50°C ±2°C Humidity range 20-90%RH ±5%RH
- Response time: 6 -10 sec for an accurate reading with 2 sec polling time
Connectivity:
3/4* pin connector, pins as follows:
- VCC: 3.3-5V Supply
- DATA: Trigger Pulse Input
- *(3rd pin on 4 pin sensor) NC: Not in use
- GND: 0V Ground
Pull-up resistor required, or enable pull-up on the RPI – more on pull-up here.
What does it do?
Sensor DHT11 Temperature and Humidity is an indoor solution, as it allows the temperature and humidity measurements within 0-50°C range. If you are interested in taking measurements below 0°C you want to get the twin looking DHT22. It is taking both measurements, for temperature and humidity and transmitting this back to the RPI or Arduino board via a digital interface. This is one of the most popular modules to use due to various possible applications. Think home terrarium, thermostat control etc. The sensor is quick and able to take independent results within a few seconds if needed.
How to use it?
The schematics show you, how to connect the sensor DHT11 to the board. 4-10kΩ resistor is advised and it is placed between Data and power (+). You may want to consider a pull-up resistor as well, (if you don’t know what I’m on about read more about resistors) or enable this on your RPI. Up to 20m cable requires about 5kΩ pull-up, longer leads needs to be checked for resistance. The sensor itself has 4 pins however only 3 of them are used. Starting from left 1. VCC, 2. Data, 3. Not in use, 4. GND.
As one pin isn’t in use, the module itself has 3 pins available and we can connect them directly to 3.3V or 5V pin. Note that sensor DHT11 allows you to connect the module without using an additional resistor.
Let’s take a look at the ones I have: As supplied from a different manufacturer layout is reversed (module alone is upside-down). Inspect your module before connecting to avoid damage. Both modules have 10kΩ included.
Understanding the output
Everything so far has been fairly easy to follow and understand. Brace yourself now, we are dealing with a digital interface which returns the data based on the request. Data returned from the sensor DHT11 has a 40-bit structure: 16 bit for Temp, same for humidity and 8bit verification checksum. This data has to be decoded in order to be presented to us in a readable form. If you are interested in the hard way: look up the data sheet for your sensor ie here.
If you want to use the easy way, there is a library written already, and there is no need to decode all of this again. You can modify the sample script to present you the results as needed.
Sample code:
Before you test the code there is few things to do:
git clone https://github.com/adafruit/Adafruit_Python_DHT.git
cd Adafruit_Python_DHT
Once the library is downloaded run:
sudo apt-get update
sudo apt-get install build-essential python-dev python-openssl
and then install it on you RPI.
sudo python setup.py install
You can test the temperature using a python2 code from here. Run the DHT11 Class python file first, then open a new file in the same directory and run the sample script.


