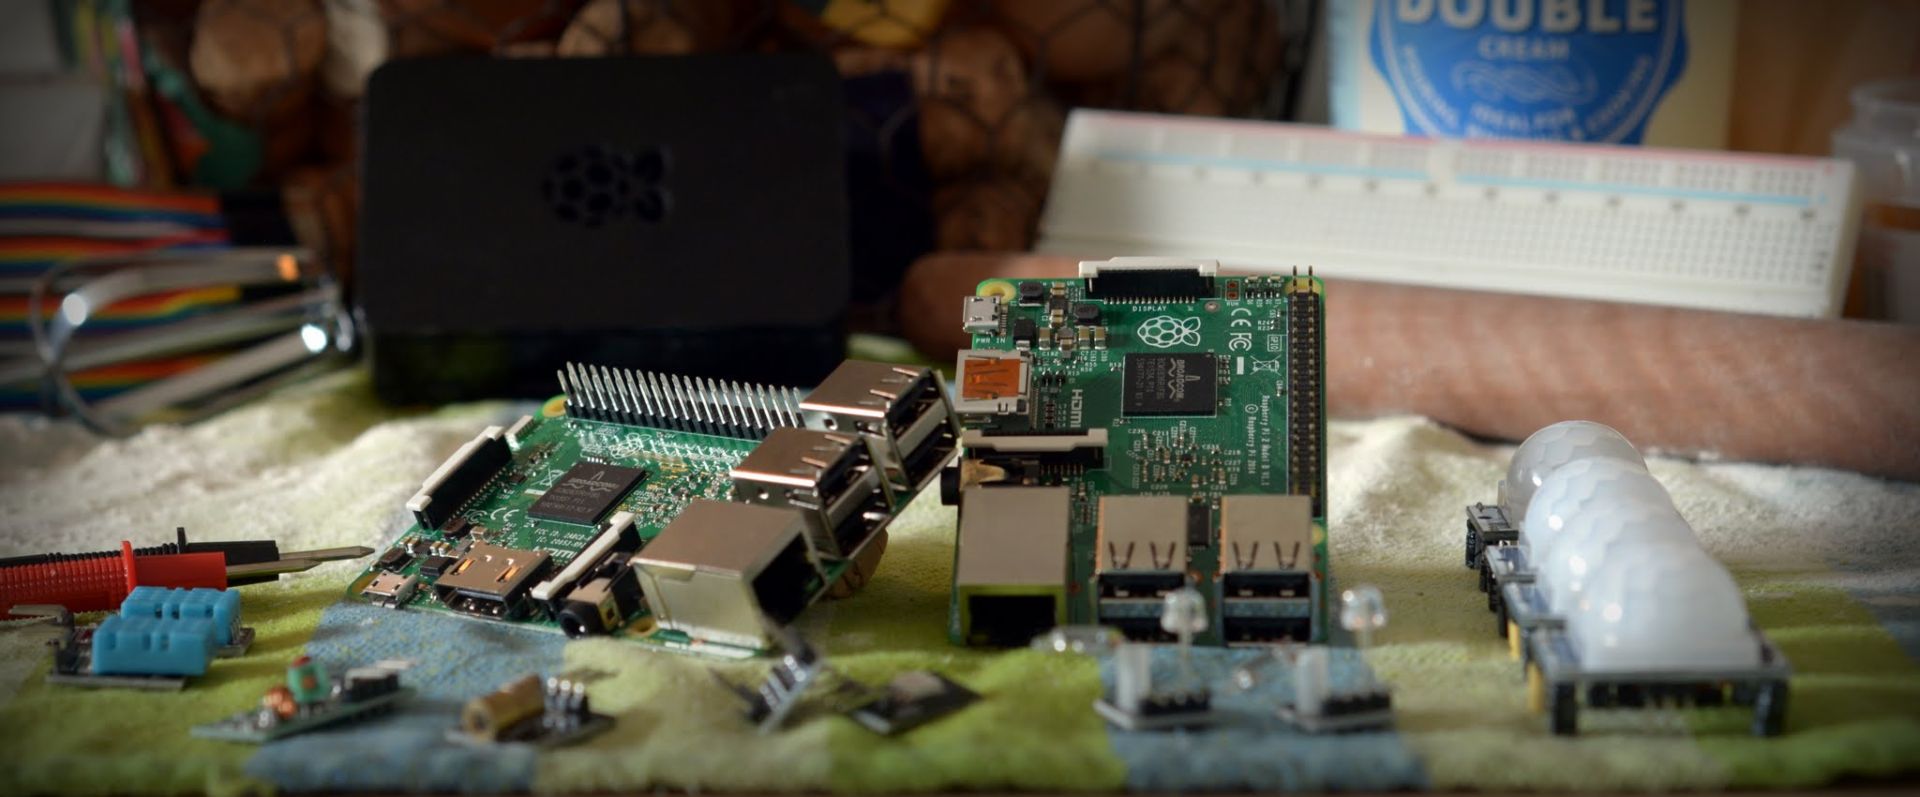
Here is a simple guide on how to connect a headless (no display, no keyboard) Raspberry Pi to a laptop PC. I’m doing it on Windows 10, but I can’t think of a reason why it wouldn’t work on other systems. I spend way too much time trying to find a quick and simple guide online after messing up my card. Now, you have one! You will also share the internet connection if your computer has one available.
Step 1. Get all things ready to connect Raspberry Pi to laptop PC
You will need:
- A working PC duh! (internet connection is not required if you have all other things ready)
- A Raspberry Pi (Zero, Raspberry Pi 2, Raspberry Pi 3, If you have other versions do yourself a favor and buy a new one here!)
- an Ethernet cable
- SD card with Raspbian loaded on it
- Putty client for Windows (Linux use the terminal, Mac users… well get a proper PC! :))
Step 2 Get the PC ready

Open connected to internet adapter properties 
Take a note what IP address will be assigned 
Set the TCP/IP to the same values (if not set automatically)
If you wish to share your internet connection with the Raspberry Pi, you will have to be little more strict with the IP selection.
My local IP is 192.168.1.7 therefore, my address will start with 192.168.xxx.xxx . Go to your internet connection adapter (WI-FI if your PC is wireless, or Ethernet if you have a second port), select properties and click on the sharing tab. Share this connection with the one that your Raspberry Pi will be using. You will see a prompt telling you what IP address will be assigned to the ethernet port. It will be something starting with 192.168.x.x (192.168.137.1 in my example)
If the IP has not been automatically assigned, go to the Network and Sharing centre, then click change the adapter settings. You need to load the adapter properties and select Network Protocol Version 4 (TCP/IP). Select the manual configuration and type in the IP as follows:
IP address: 192.168.137.1
Subnet mask: 255.255.0.0
Step 3. Get the SD card ready
We need to force an IP when raspberry is loading for the first time. To do this – we will open a file on a boot partition of the card. Plug the card into the PC, open the partition and look for the cmdline.txt file. Add the following line to the cmdline.txt.
ip=192.168.137.2
Make sure not to make a new line by doing so. Keep the whole file as a single line. Save the file – and remove (a preferably safely) card from the PC. Plug it in the Raspberry Pi. Save your changes. You are ready to go.
Step 4 Connect
Connect the ethernet cable to the Raspberry Pi and PC, then turn on the Raspberry. Wait until the network will stop identifying it. Once the connection is established – open up Putty.
Enter the IP address used in the cmdline.txt and connect to the port 22 (I assume this is the first time you connect to the Raspberry and everything is set to default)
Enter the Raspberry Pi credentials:
login (default): pi
password (default): raspberry
and… You know how to connect Raspberry Pi to laptop PC. Now that you wonder how to make the changes permanent and assign a static IP take a look on this guide.


