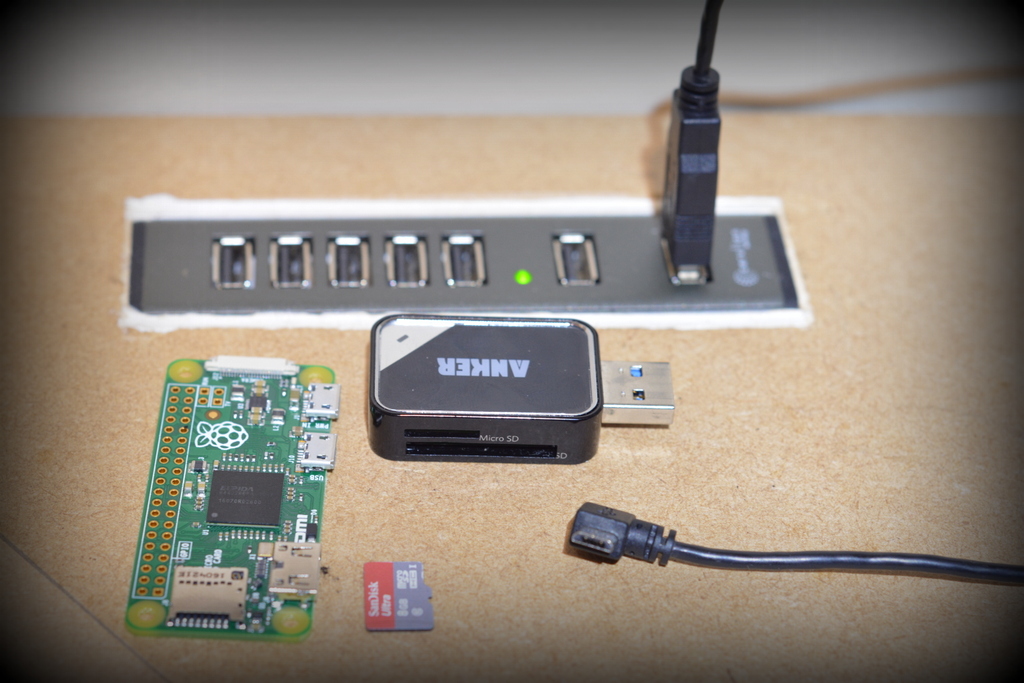
Raspberry Pi Zero and Raspberry Pi Zero W are great boards for small projects. There are a number of ways you can configure the network directly from a microSD card before you even boot your board for the first time, but Raspberry Pi Zero, in particular, can be hard to work with if you don’t have an ethernet adapter. Fortunately, you can use a USB port to connect to your board without a keyboard or a screen.
Enable Raspberry Pi Zero SSH over USB in 4 simple steps
You will need:
- Raspberry Pi Zero or Raspberry Pi Zero W – (obviously)
- Windows PC – with a Bonjour installed (it’s the first time I get to use this in my life – Linux people Avahi-Deamon will do it)
- A USB cable
- SD-card and a reader
- Putty on Windows or terminal on Linux
Step 1
Download the Raspbian image – full release or Lite – it works with both versions. Install Bonjour on your computer (or Avahi).
Step 2
Install the Raspbian image on the SD-card, and open it on the PC. You will need to open 2 files.
- config.txt
Add the following (new line):dtoverlay=dwc2
- cmdline.txt
Add the following text after rootwait (leave a space, keep all in a single line):modules-load=dwc2,g_ether
- SSH file
Create an empty ssh file in the boot directory to enable SSH access.
You will need this to enable ssh access. This file has to be created each time until you allow the SSH access in the Raspberry Pi config.
Step 3
Put the card in, plug the USB to the socket marked USB not PWR IN and power it up. Wait about 1-2 min – don’t rush it the first time.
Step 4
Open up Putty and connect to (make sure you have no other Raspberries connected via Ethernet – you will connect to these instead if you forget to power it off)
raspberrypi.local
Enter the Raspberry Pi credentials:
- Login (default): pi
- Password (default): raspberry
and… You know how to connect Raspberry Pi Zero, Raspberry Pi Zero W SSH USB! Now that you have the access to to the Raspberry Pi Zero W, you can take a look at this guide to set up the network permanently.
Getting the Internet
Working with SSH over USB is fun, but it would be great to have an internet connection too, especially on a Raspberry Pi Zero which has no internet adapters. You can simply share the existing Internet connection from your computer.
Navigate to the Windows Network connection tab. You will see your active internet connection and the Rasberry Pi Zero listed as “USB Ethernet/RNDIS” Make a note of the connection name (Raspberry Pi Zero).
Select the active internet connection and use Right Click to access the properties. In the Share tab, share this network connection with… you guessed it the “USB Ethernet/RNDIS” device. Reboot your Raspberry Pi and enjoy the internet connectivity.
You are welcome!


