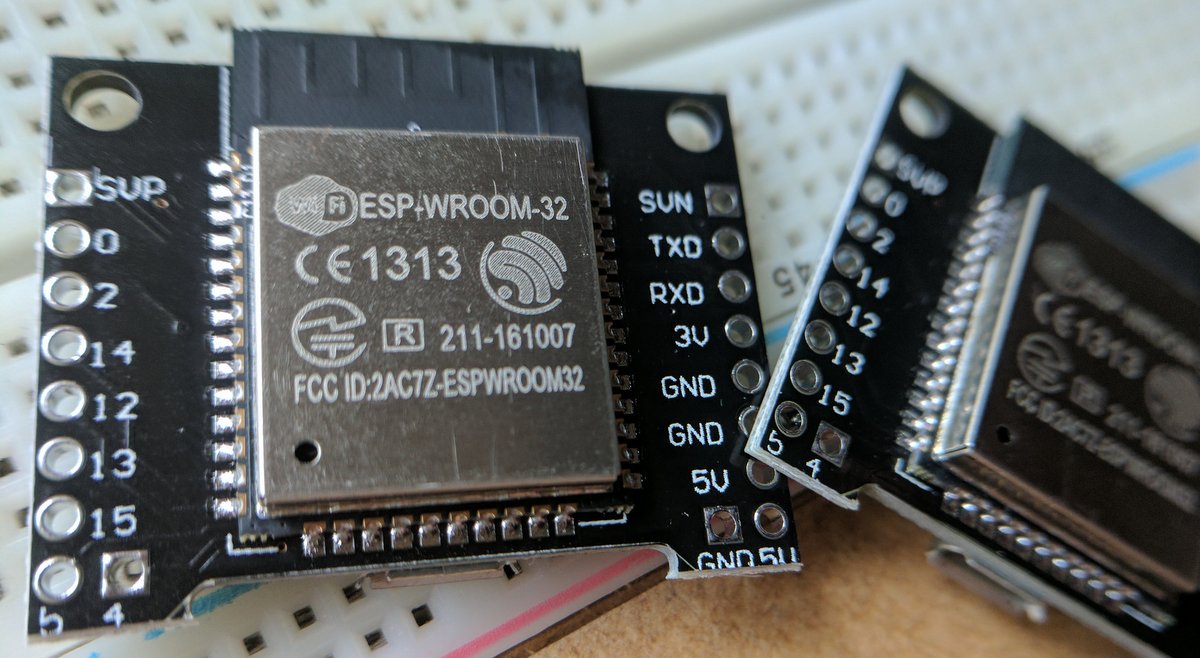
My previous ESP boards (8266) are great but it comes with one limitation – the number of usable pins. It was time to upgrade! And what an upgrade it is. 2 core processing, Bluetooth 4.2 and virtually all the space you will ever need for your sketches.
The boards are less and less expensive and you can order yours from Aliexpress. Here is the link for the one I got:

Buy ESP32
Buy it using these links to support NotEnoughTech.
ESP32 – getting started guide will help you to get your Windows PC ready to push files to the board.
ESP32 – getting started
Before we go to the meat of things, there are few downloads to do. I will put them in a nice list so you could get your machine ready:
- Python 2.7 (don’t use 3.x versions for this)
- Arduino IDE (or make sure it’s up to date)
- Git download client (will save you time)
Now that everything is installed we can start the set up of our toolchain. Open Git GUI. We will use Clone Existing Repository:
https://github.com/espressif/arduino-esp32.git
Download it to a folder /espressif/esp32 anywhere on your drive. Once the operation is completed, open the directory and find tools/get.exe. Run the file and wait until an additional library is downloaded and extracted.
Copy the entire ‘espressif’ folder into the Program Files (x84)/Arduino/hardware directory. Plug in the ESP32 and wait for the Windows to update the drivers. A COM port should be assigned to the ESP32 board. Make a note of the port (using the device manager).
Open up Arduino IDE and go to the board manager. This time you should see the ESP32 board. Select the board and upload the test sketch:
Open up the serial monitor (baud 115200) to see if the board has connected successfully to the WIFI. You should be ready to rock!
I hope that this ESP32 – getting started guide made things short, sweet and easy for you. If you prefer to download the ready Arduino file here is the sketch for you:

Project Download
Download project files here. Bear in mind that Patreon supporters have early access to project files and videos.


