Anyone getting Novostella Floodlight I reviewed a long time ago had a very short window to take advantage of Tuya-Convert exploit to Tasmotise it. The timing of my post about it couldn’t be worse, the method stopped working 2 weeks later thanks to the firmware update. As I was playing with a much bigger and brighter version of the floodlight – AuroraLux, one of the older panels let me down.
Lucky until now

I was lucky enough to have my Novostella bulbs and floodlights flashed, but I received many messages about others who got the lights too late. What makes all of this even worse, it’s the fact that the floodlight can’t be opened. The glass panel is glued into a cast metal frame. It’s not just weatherproof – it’s bullet and tamper-proof (at least if you want the panel in one piece).
If ain’t broken…
The floodlights were in service ever since, providing extra lights for my thumbnails, videos and review shots. I never really embedded these into my automation, as each shoot was slightly different and Tasmota GUI is pretty easy to work with.
A couple of days ago, I decided to update the Tasmota. These were still on the 6.0 version while the latest Tasmota is now at 10.0. Everything went smooth on my first panel, but the second one failed and got stuck.
Despite my attempts to reset it. The panel is stuck in AP point, unable to load the web GUI. I can’t set new WiFi credentials, I can’t control it via REST – in other words – the panel is useless in the current state. I regret now trying to bring it to the more up to date version.
Can’t Touch This

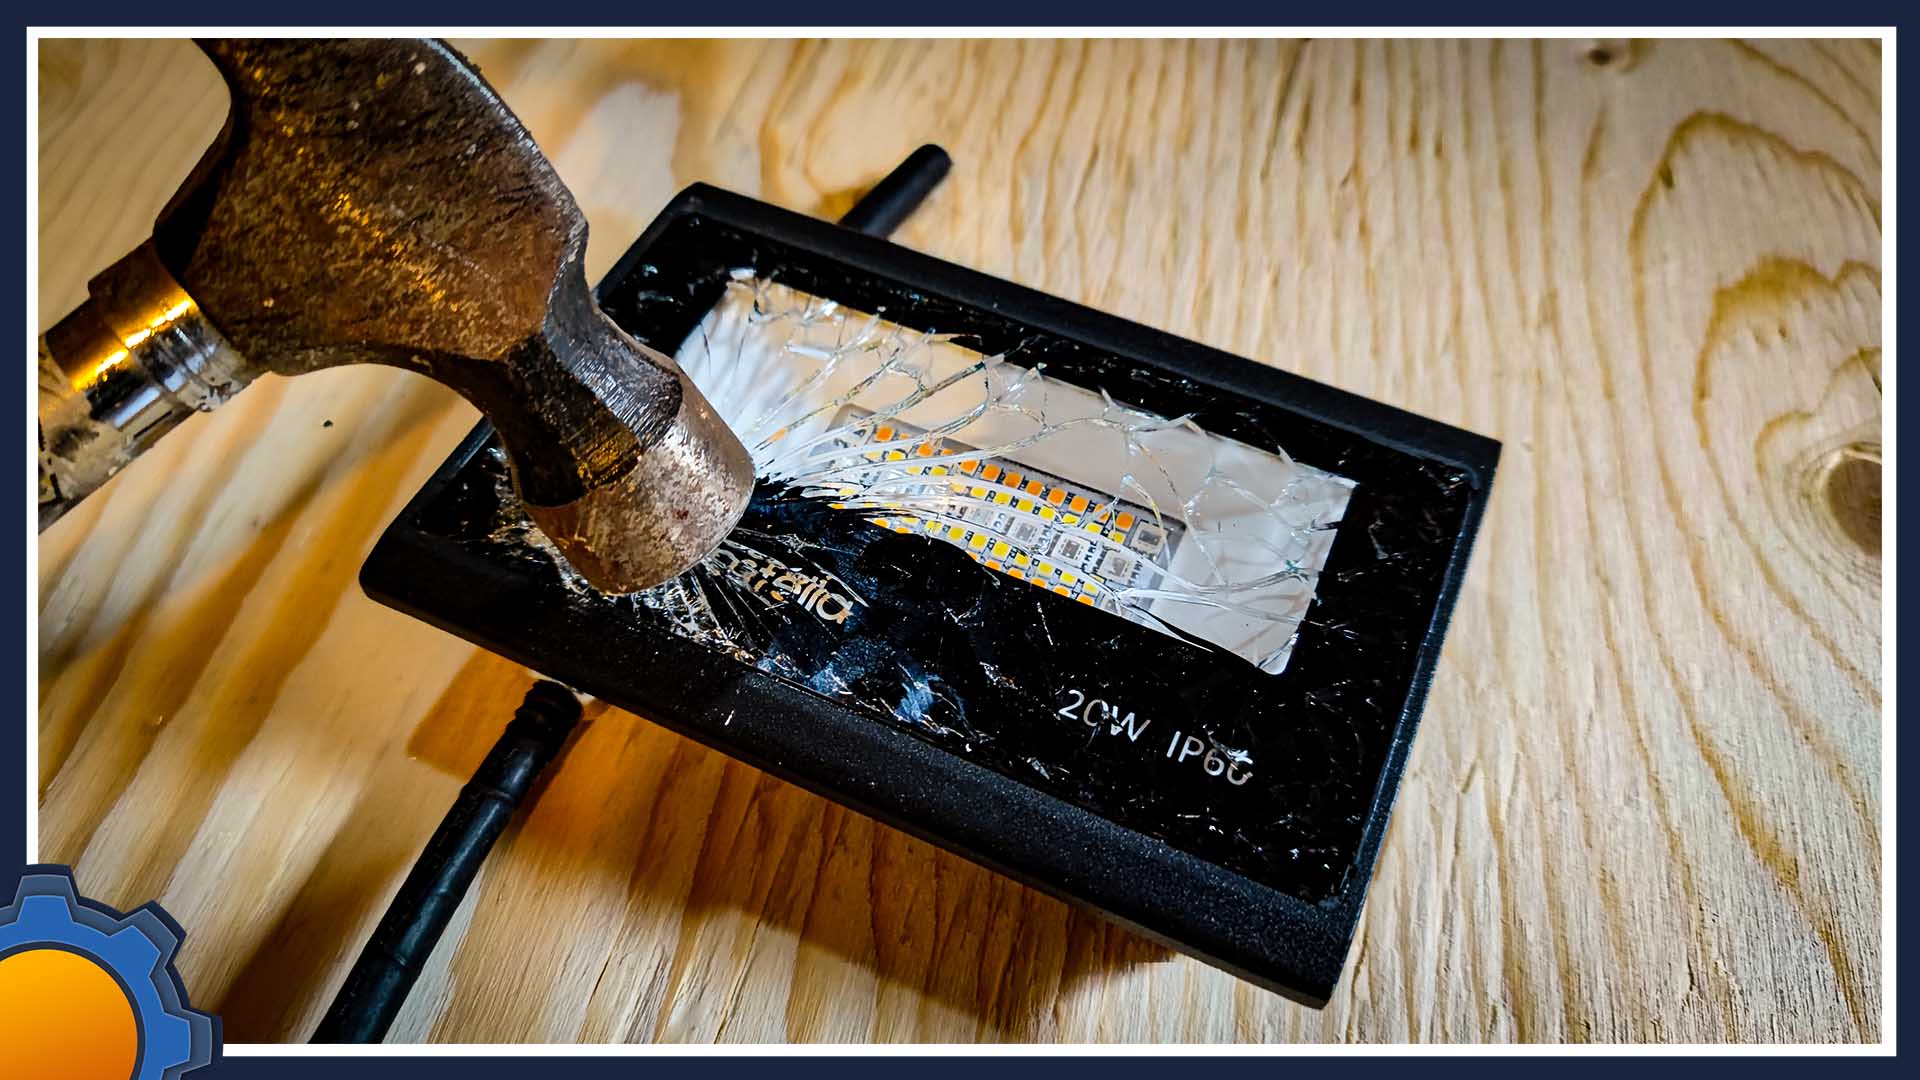
There is only one way to get inside and flash tasmota from scratch. Get inside. To do this, I have to break the “emergency glass” and see if I can get to the PCB behind the panel. I don’t plan on taking it outside any time soon, so I don’t really care about the glass and the seal behind it.
I will need a big hammer and safety specs. If you are just as insane as me, please take care, the glass shards are deadly!
On the inside

After cleaning up the edges from the adhesive and glass shards, I was able to remove the inner components without cutting my hands in the process. There is still plenty of tiny glass shards inside so don’t take your specs off.
Unfortunately, the main PCB is encased in silicone. This coffin felt pretty solid, therefore I was about to settle for the LED array before chucking the rest away. Fortunately, the silicone is pretty brittle and peeled off rather nicely without damaging the components.


Hidden inside is the brain of the Novostella Floodlight – ESP8266EX on a TYLC4_IPEX board – a very flashable board. All the headers are nicely exposed, so working with this shouldn’t be a problem. I just need to verify where the GPIO00 is for flash purposes.
According to this schematic, it’s on the back of the board. Not in an ideal place, but I should be able to poke it long enough to put the board into flash mode before Tasmotizing the hell out of it. I’ve linked the cables from my FTD1232 programmer to the TYLC4 board with help from my MiniWare TS80P soldering iron.

| FTD1232 | Floodlight (TYCL4) |
| TX | RX |
| RX | TX |
| 3.3V or VCC | 3v3 |
| 3.3V or VCC | EN |
| GND | GND |
And fused the GPIO00 with the ground on power on. Thanks to Tasmotizer, I flashed the latest tasmota.bin and configured the module WiFi and Module Template.
{"NAME":"Floodlight","GPIO":[0,0,0,0,416,419,0,0,417,420,418,0,0,0],"FLAG":0,"BASE":18}It was time to reverse the whole process. Remove the soldered wires, reflow the connections to the board to make sure the daughterboard is connected and wrap the missing silicone parts in insulation tape. Until I get a spare piece of acrylic, I will keep this unit open. I need a 79mm by 143mm piece to fit the space.

Final thoughts
The rescue is done, and the panel won’t end up in the landfill. I’m yet to figure out what went wrong but that adventure will make me think twice about updating devices that are hard to fix. After all, if it ain’t broke, don’t fix it – right? Let me know about your cool salvage operations in this Reddit thread.


