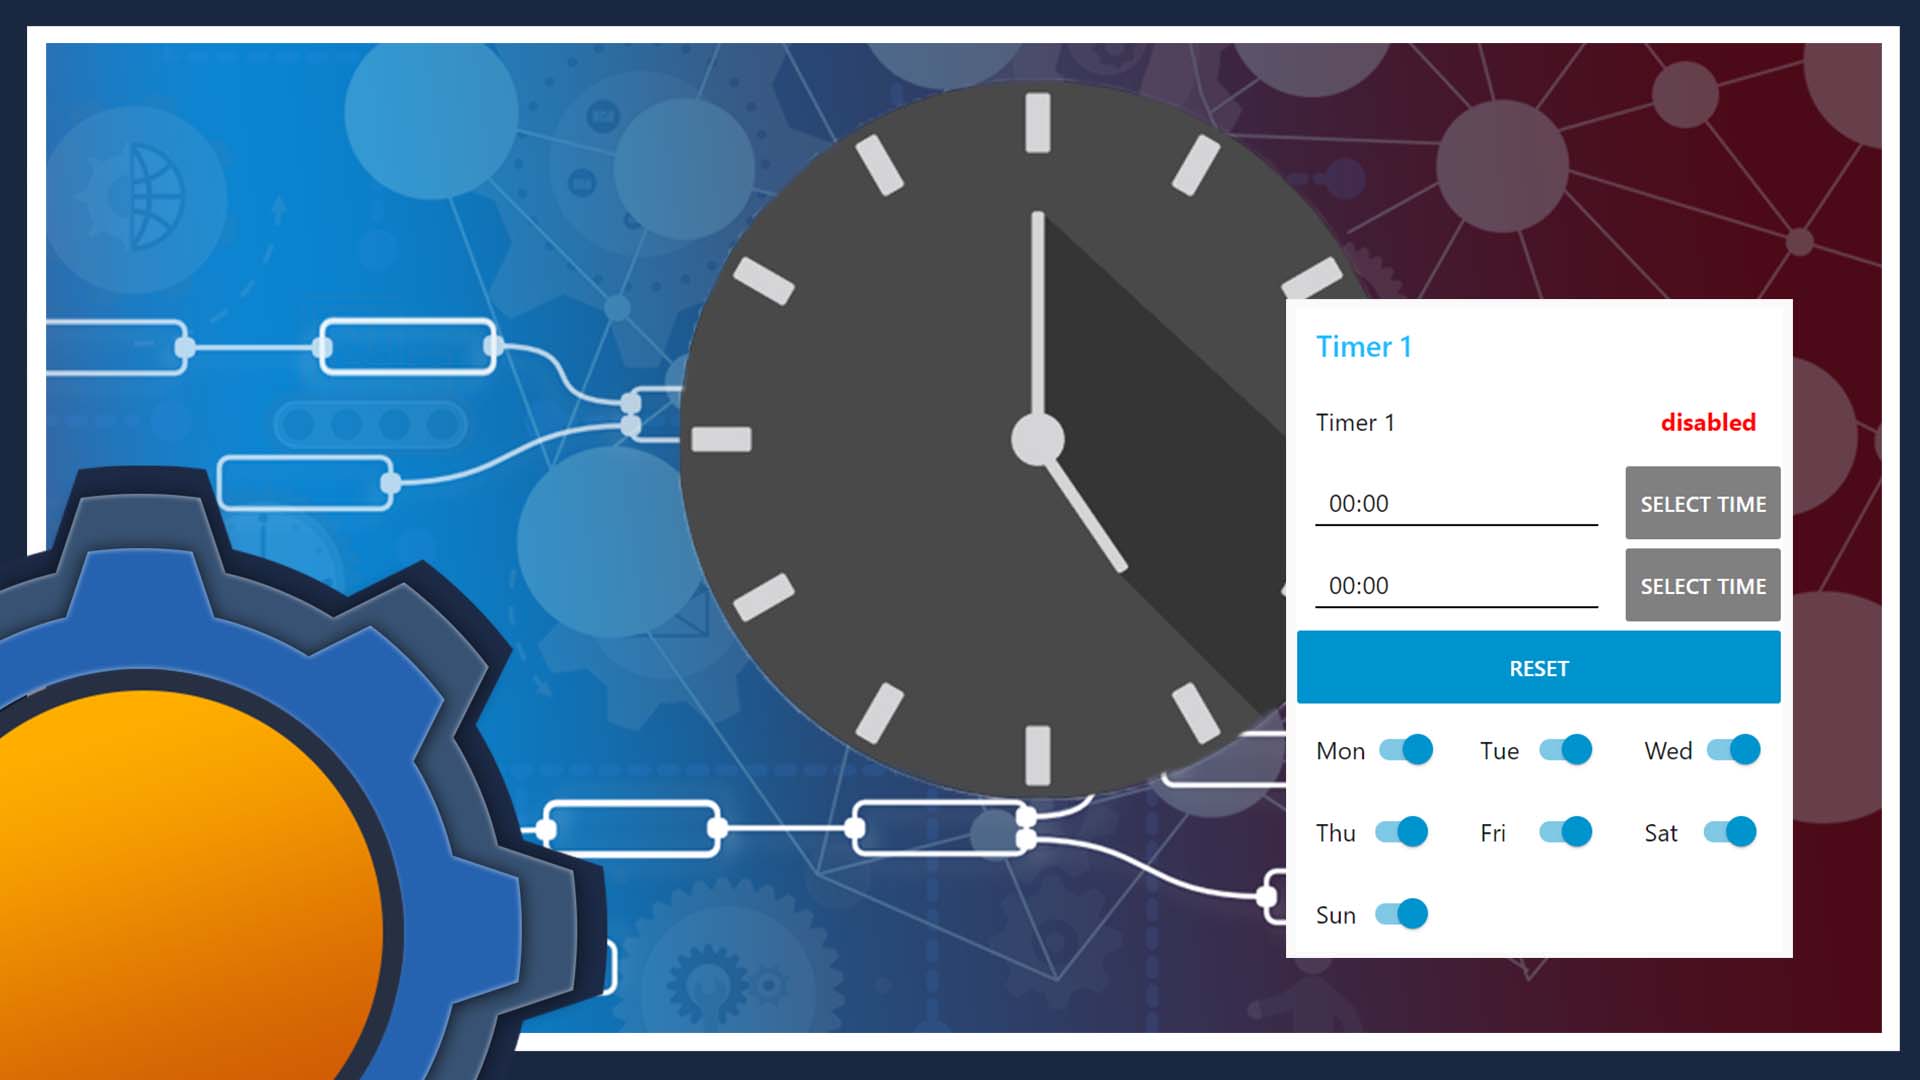
You can laugh all you want at me, but I’m excited! Why? It’s Halloween and timers have been haunting me for way too long! I finally cracked it! I’d like to show you how to make infinite timers in NodeRED which can be set via Dashboard. My timer in NodeRED not only works offline, but it’s modular! What a time to be alive!
Why so serious? It’s just a timer in NodeRED!
Before I decided to play Dr Strange of JavaScript and reinvent the wheel in a function node, I was like everyone else using “bigtimer” node made by Peter Scargill. I’m in no way discouraging you from using that node, but each method has its own pros and cons.

I needed a simple Dashboard timer which I can add to any IoT device, so I could set the schedules via NodeRED Dashboard rather than hardcode the values in NodeRED.
I present you with a Timer in NodeRED:
- Modular (as a subflow)
- Unlimited timers per device
- Supports “days of the week”
- works offline
- Dashboard interface
- One button reset
Unlike my other flows, this one is very easy to add to your creations. This timer in NodeRED can be deployed as a single subflow configurable via NodeRED 1.0 environmental variables.
To configure the subflow, you have to provide the timer iteration (each timer should have its own number like: 1|2|…n) and values for payload on start and stop (string).
Apart from the Dashboard (obviously?), you will need the Schedex node so head to palette manager and install:
node-red-dashboard
node-red-contrib-schedex
What’s the catch?
Nothing is perfect, and timer in NodeRED has annoyances too! The way the Dashboard works makes it impossible to simply import the subflow and hope that the widget will be added in the right place.
All elements are configured correctly, but the Dashboard will try to fill in spaces on your web interface by shifting the elements up. The result may look tragic, but everything will work fine.

To fix the layout, you will need to add a couple of spacers. There is no rule how big the spacers should be, as all this depends on your layout in the Dashboard, just make sure the elements don’t shift up.
If you want to have multiple timers on the same page, you are better off duplicating the subflow manually, then setting the values of the environmental variables yourself.
How does it work?

I tried to make this flow as simple as possible. I used the groundwork laid in articles about calculating time in Tasker (underlying maths is the same, plus Tasker supports JavaScript).
function calcTime(hh){
     var hours = ("0"+Math.floor((hh%86400)/3600)).slice(-2);
     var minutes = ("0"+Math.floor((hh%3600)/60)).slice(-2);
     return hours + ":" + minutes;
 }
“Pick time” Dashboard element generates time in milliseconds since midnight. To set a valid timer, I will need the start time and the end time. These values are converted to seconds (division by 1000) and I can use the clever JavaScript to add leading zeros and format it to HH:MM format needed for the Schedex node.

When the time is set in the picker, a function node saves it as a flow variable and sets the button labels to provide the visual feedback.
I wanted this visual feedback to be clear, so not only I change the colour and labels of the buttons, but I included a text label showing that the timer had been set.

My work on the timer has been interrupted once because of unexpected Raspberry Pi shutdown. Inspired by this failure, I have promptly added a couple of inject nodes with Started! which triggers on reboot.
To use this, make sure your context|flow|global variables are saved by NodeRED – you can learn how here.

Now your timer can survive reboots, saving time ON|OFF and the days of the week.
Lastly, schedex node supports days of the week, so there is no reason not to drop in 7 switches and name it accordingly! Unfortunately, implementation is a bit clunky, so I don’t know an easy way of combining it in a single function node, but it’s workable:
var z = flow.get("Timer1");
 var x = msg.payload;
 flow.set("Monday"+z, x);
 msg.payload = {mon: x};
 return msg;
Settings

I promised the node to be simple to deploy and use. To use it in your NodeRED flow, deploy the subflow and edit the environmental variables. The node will create the following Flow Variables for you to use:
- Timer[ID]_on – time on in seconds from midnight
- Timer[ID]_off – time off in seconds from midnight
- T[ID]on – HH:MM time on
- T[ID]off – HH:MM time off
Timer #
You will need to provide the timer number (as int 0,1,2,3 etc keep this easy to track). Each flow can have unlimited timers, providing each comes with a unique number. Practically, the limit will come from hardware specification like heap memory available to NodeRED.
ON|OFF Payload
You can also assign a custom payload. It’s an afterthought really, as I quickly realised that you don’t have to litter your Flow with another switch node. The payload is configured as a “string“, so if you want something more specific like bool or a number, you will need to convert it yourself.
Conclusion
Free timers for everyone! This timer has been made specifically for IKEA Smart Socket write up (soon), but I will be incorporating this also into my Nest alike smart heating (check it out, it works with old thermostats!) and probably other systems that use schedules. I may consider adding reboot behaviour so you could decide how the node reacts if power is restored (sending missed schedules vs ignoring it). Let me know what would you use if for and what other functions would be useful in this Reddit thread.

Project Download
Download project files here. Bear in mind that Patreon supporters have early access to project files and videos.


