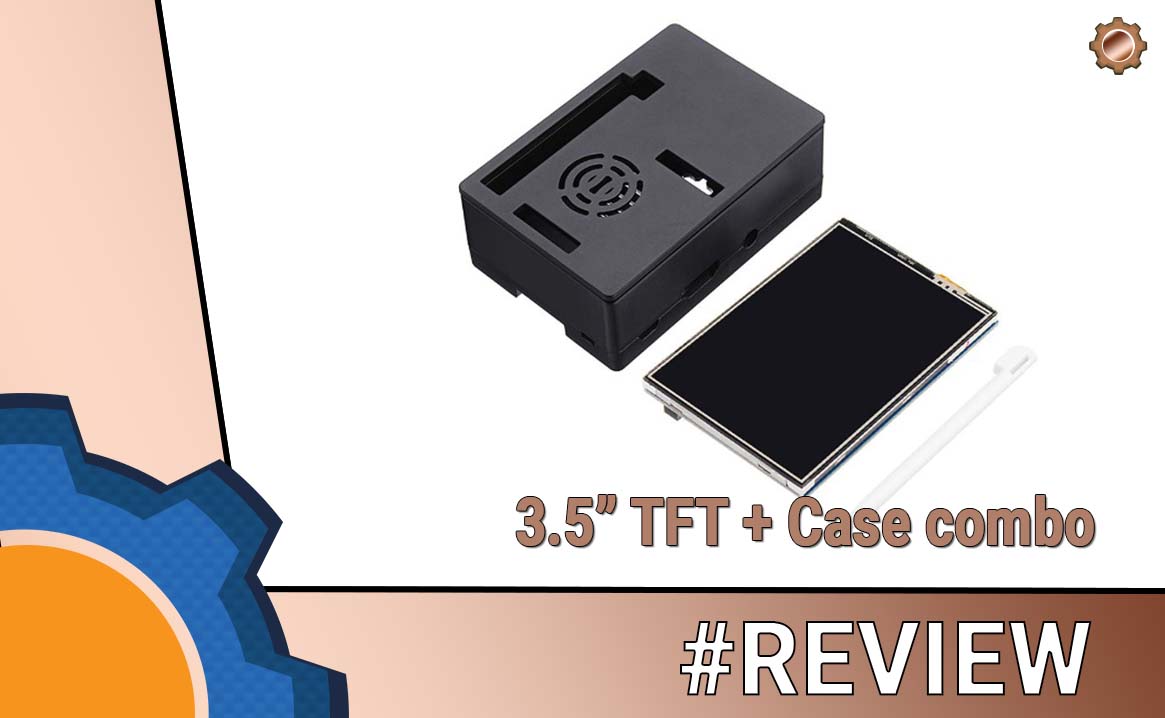
I got the set within 2-3 weeks (my order got some stock issues) but the Raspberry Pi case with TFT screen is here now and I can play about. In the box you will find:
- 3.5″ TFT 480×320 touch screen
- plastic stylus
- RaspberryPI 3/2 compatible case (works with B+ too)
- Additional lid for the screenless operation
That’s a lot of kit for $15 if you are asking me! But is this worth your time and money?

Buy 3.5″ TFT screen and case bundle
Buy it using these links to support NotEnoughTech.
The Raspberry Pi case with TFT screen
The case comes with 2 lids. One to house the 3.5″ screen and one that comes with a fan mount. The box is well made, sturdy and the tolerancies feel decent.
The case should fit Raspberry PI 2/3 B and B+ as the enclosure exposes the PoE pins too. It makes it compatible with most of the Raspberries in my lineup. In all honesty, I don’t have a plan for this product, but at this price I just wanted to have it in my collection.
The 3.5″ touchscreen

You get, what you pay for. The 26-pin 3.5″ TFT screen is not the top of the line display, but at this price point it could be utilised for pretty much any project. The off the box FPS are stuck at 15 frames per second, so don’t expect gaming on that screen, but with a couple of online hacks you can increase the framerate of this display as well.
This is TFT screen, and it shows. The viewing angles aren’t fantestic. The colours fade quick if you look at the display at an angle. At this size, I’m not expecting to consume any content, but it’s good enough to show a basic GUI and let me interact with it.

The touchscreen is ok. It’s not the most accurate, so stylus helps a lot. If I decidie with the touch only options. I will make sure to have the icons that accomodate for the finger size.
The screen uses 26-pin female header and the SPI library to connect. You will have spare pins to run other projects on Raspberry PI, but if you are using an OrangePi, you will use all of the pins.
Setting it up & Troubleshooting
I have to admit that despite 4 line set up instructions, I came across some issues. The touch interface had swapped axis and none of the obvious solutions worked at first.
This is not well documented and I actually had to try a couple of things before I figured out how to drive the touch interface correctly. I will give you a couple of pointers.
Update your Raspbian
sudo apt-get update
sudo apt-get ugrade
sudo apt-get dist-upgrade
Then install the drivers on your device:
sudo rm -rf LCD-show
git clone https://github.com/goodtft/LCD-show.git
chmod -R 755 LCD-show
cd LCD-show/
sudo ./LCD35-show
Changing the orientation of the displays requires remaping the touch controls. There are more than one way of doing so. I found this to work well.
0 degree rotation

 cd LCD-show/
 ./LCD35-show 0

 90 degree rotation

 cd LCD-show/
 ./LCD35-show 90

 180 degree rotation

 cd LCD-show/
 ./LCD35-show 180

 270 degree rotation

 cd LCD-show/
 ./LCD35-show 270
Bear in mind, this will not change the touch mapping. And there is also more than one way of fixing this. For me I had to modify the /etc/X11/xorg.conf.d/99-calibration.conf file:
Section "InputClass"

        Identifier      "calibration"

        MatchProduct    "ADS7846 Touchscreen"

        Option  "Calibration"   "3936 227 3880 268"

        Option  "SwapAxes"      "0"

EndSection
Initially, I had to add (your case may need a different pattern):
Option "TransformationMatrix" "0 1 0 -1 0 1 0 0 1"But then I got stuck with something
dtoverlay=tft35a:rotate=180
(note I’m using 90 degree rotation)

Buy 3.5″ TFT screen and case bundle
Buy it using these links to support NotEnoughTech.
Conclusion
The Raspberry Pi case with TFT screen is a budget option and comes with limitations. The low resolution and 15 FPS are the main disadvantages. With that said, you do get


